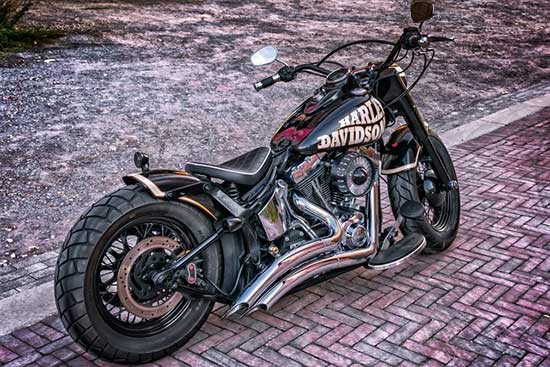
Harley-Davidson motorcycles are known for their powerful engines and smooth rides. One crucial component that contributes to the smoothness of the ride is the compensator.
The compensator is responsible for reducing the impact of the engine’s torque on the drivetrain, ensuring a smoother power delivery to the rear wheel.
Over time, the compensator can wear out or develop issues, leading to a decrease in performance and potential damage to other parts of the motorcycle.
Contents
Why Checking the Harley Compensator is Important
The compensator plays a critical role in the overall performance and longevity of a Harley-Davidson motorcycle. Here are a few reasons why checking the compensator is important:
- Prevent damage to other drivetrain components: A faulty compensator can cause excessive stress on the primary chain, clutch, and transmission, leading to premature wear and potential failure.
- Ensure a smooth power delivery: A worn-out compensator can result in jerky power delivery, making it challenging to control the motorcycle and compromising the riding experience.
- Save on repair costs: Identifying and addressing compensator issues early can prevent further damage and costly repairs down the line.
Tools Required
Before diving into the process of checking the compensator, it is essential to gather the necessary tools. Here are the tools you will need:
- Torque wrench
- Socket set
- Primary chain locking tool
- Inspection mirror
- Flashlight
Step-by-Step Guide to Checking the Harley Compensator
Now that you have the required tools, let’s go through the step-by-step process of checking the Harley compensator:
Step 1: Prepare the Motorcycle
Before starting any maintenance procedure, it is crucial to ensure the motorcycle is on a stable and level surface. Additionally, make sure the engine is cool to avoid any burns during the inspection process.
Step 2: Remove the Primary Cover
The compensator is located behind the primary cover. To access it, you need to remove the primary cover. Follow these steps:
- Loosen the primary chain tension by adjusting the tensioner shoe.
- Remove the primary chain inspection cover using a socket wrench.
- Remove the primary cover bolts using a socket wrench.
- Gently pry the primary cover off using a flathead screwdriver.
Step 3: Inspect the Compensator
With the primary cover removed, you can now inspect the compensator. Here’s how:
- Locate the compensator, which is attached to the engine’s crankshaft.
- Visually inspect the compensator for any signs of wear, such as cracks, missing teeth, or excessive play.
- Use an inspection mirror and flashlight to get a better view of hard-to-reach areas.
Step 4: Check for Excessive Play
Excessive play in the compensator can indicate a problem. To check for play, follow these steps:
- Rotate the compensator back and forth gently.
- Observe if there is any noticeable movement or play.
- If there is excessive play, it may indicate a worn-out compensator that needs to be replaced.
Step 5: Check for Cracks or Missing Teeth
Cracks or missing teeth in the compensator can lead to severe issues. Here’s how to check for these problems:
- Inspect the compensator carefully for any visible cracks or damage.
- Check for missing teeth on the compensator’s sprocket.
- If you notice any cracks or missing teeth, it is crucial to replace the compensator immediately.
Step 6: Check for Oil Leakage
Oil leakage from the compensator can indicate a seal or gasket problem. Here’s how to check for oil leakage:
- Inspect the area around the compensator for any signs of oil leakage.
- If you notice oil stains or wetness around the compensator, it may indicate a seal or gasket issue that needs to be addressed.
Step 7: Reassemble the Motorcycle
After completing the inspection, it is time to reassemble the motorcycle. Follow these steps:
- Clean the primary cover and mating surfaces.
- Apply a thin layer of gasket sealant to the primary cover.
- Reinstall the primary cover and tighten the bolts to the manufacturer’s specified torque using a torque wrench.
- Reinstall the primary chain inspection cover.
- Adjust the primary chain tension according to the manufacturer’s guidelines.
When to Seek Professional Help
While checking the compensator can be done by most motorcycle enthusiasts, there are situations where seeking professional help is recommended. Consider seeking professional assistance if:
- You lack the necessary tools or experience to perform the inspection.
- You notice significant damage or wear during the inspection.
- You are unsure about the correct torque specifications or adjustment procedures.
Conclusion
Checking the Harley compensator is an essential maintenance task that ensures the smooth operation of your motorcycle. By following the step-by-step guide outlined in this article, you can identify potential issues early and prevent further damage to your drivetrain.
Regularly inspecting and maintaining your compensator will not only enhance your riding experience but also save you from costly repairs in the long run.
Remember, if you encounter any significant issues or are unsure about the process, it is always best to seek professional assistance.