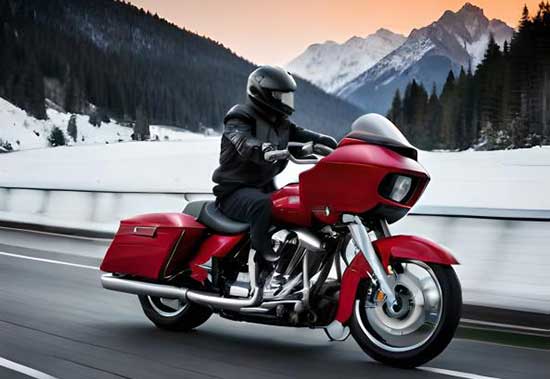
Harley-Davidson motorcycles are known for their iconic design, powerful engines, and smooth ride. However, even the most well-maintained Harley-Davidson can sometimes experience issues with idle speed.
If you find that your fuel-injected Harley-Davidson is idling too high or too low, it may be time to make some adjustments.
In this article, we will guide you through the process of adjusting the idle on your fuel-injected Harley-Davidson, ensuring that your motorcycle runs smoothly and efficiently.
Contents
Understanding Idle Speed
Idle speed refers to the rotational speed of the engine when the motorcycle is in a stationary position.
It is important to maintain the correct idle speed as it affects the overall performance and efficiency of the motorcycle.
An idle speed that is too high can lead to excessive fuel consumption, increased engine wear, and a rough ride.
On the other hand, an idle speed that is too low can cause stalling and difficulty starting the motorcycle.
Tools Required
Before you begin adjusting the idle on your fuel-injected Harley-Davidson, it is important to gather the necessary tools. Here are the tools you will need:
- Socket set
- Allen wrench set
- Torque wrench
- Tachometer
Step-by-Step Guide
Step 1: Warm Up the Engine
Start by warming up your Harley-Davidson’s engine. Allow it to run for a few minutes to ensure that it reaches its normal operating temperature. This will ensure that the adjustments you make are accurate and effective.
Step 2: Locate the Idle Adjustment Screw
The idle adjustment screw is typically located on the throttle body of the fuel-injected Harley-Davidson. Consult your motorcycle’s owner’s manual to find the exact location of the idle adjustment screw. It is usually a small screw with a slot for a screwdriver or an Allen wrench.
Step 3: Check the Idle Speed
Connect a tachometer to your motorcycle’s engine to measure the idle speed. The tachometer should be connected according to the manufacturer’s instructions.
Once connected, start the engine and allow it to idle. Check the tachometer to determine the current idle speed.
Step 4: Adjust the Idle Speed
Using a screwdriver or an Allen wrench, turn the idle adjustment screw in small increments to increase or decrease the idle speed.
Turning the screw clockwise will increase the idle speed, while turning it counterclockwise will decrease the idle speed. Make small adjustments and monitor the tachometer to ensure that you achieve the desired idle speed.
Step 5: Test Ride
After making the necessary adjustments, take your Harley-Davidson for a test ride. Pay attention to how the motorcycle feels and sounds at idle.
If it feels smooth and stable, and the tachometer indicates the desired idle speed, then you have successfully adjusted the idle on your fuel-injected Harley-Davidson.
Troubleshooting Tips
If you encounter any issues while adjusting the idle on your fuel-injected Harley-Davidson, here are some troubleshooting tips:
- Ensure that all connections are secure and free from corrosion.
- Check for any vacuum leaks, as they can affect the idle speed.
- Inspect the throttle body for any dirt or debris that may be obstructing the idle air control valve.
- Consult a professional mechanic or refer to your motorcycle’s owner’s manual for further assistance.
Conclusion
Adjusting the idle on your fuel-injected Harley-Davidson is a straightforward process that can greatly improve the performance and efficiency of your motorcycle.
By following the step-by-step guide outlined in this article, you can ensure that your Harley-Davidson runs smoothly at idle.
Remember to warm up the engine, locate the idle adjustment screw, check the idle speed with a tachometer, make small adjustments, and test ride your motorcycle. If you encounter any issues, refer to the troubleshooting tips or seek professional assistance.
With the correct idle speed, you can enjoy a smoother ride and prolong the life of your Harley-Davidson.