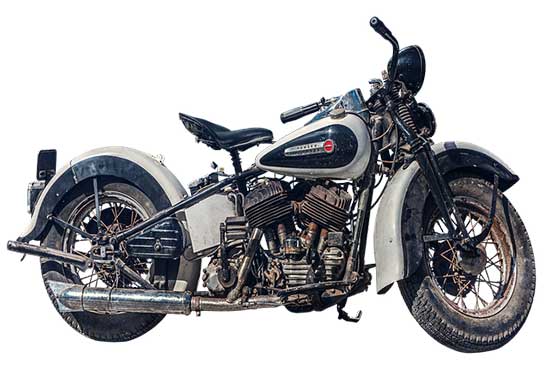
Revitalizing your dirt bike frame can not only improve its appearance but also extend its lifespan.
This guide will provide detailed instructions on how to properly paint your dirt bike frame, ensuring a professional finish and lasting results.
Contents
Step-by-Step Process
Following these steps will help you achieve the best possible outcome when painting your dirt bike frame.
1. Disassembly
Before starting the painting process, disassemble your dirt bike. Remove all parts that you do not want to paint, such as the engine, wheels, suspension, and any plastic components.
This will ensure a cleaner, more professional result.
2. Cleaning and Degreasing
Thoroughly clean the frame to remove any dirt, grease, or other contaminants. Use a degreaser or a mild detergent, and a brush to scrub the surface.
Rinse the frame with water and let it dry completely before proceeding to the next step.
3. Sanding
Sanding the frame is essential for promoting paint adhesion. Use a 400-grit sandpaper to lightly sand the entire frame, ensuring a smooth and even surface.
Wipe the frame with a tack cloth to remove any dust or debris before proceeding.
4. Priming
Priming the frame will help the paint bond and provide a more even finish. Prepare your work area by covering it with a drop cloth and setting up a well-ventilated space.
Apply the primer using a spray can, following the manufacturer’s instructions. Allow the primer to dry completely before moving on to the next step.
5. Painting
Choose the desired paint color for your dirt bike frame.
Apply thin, even coats of paint using a spray can or an airbrush, allowing each coat to dry before applying the next.
It is recommended to apply at least two to three coats for the best coverage and durability.
6. Clear Coat Application
Once the paint is dry, apply a clear coat to protect the paint and provide a glossy finish.
Apply two to three coats of clear coat, allowing each coat to dry before applying the next.
Follow the manufacturer’s instructions for best results.
7. Reassembly
After the clear coat has fully dried, reassemble your dirt bike.
Carefully reattach all previously removed components, ensuring they are properly secured and aligned.
Take your time during reassembly to avoid damaging the newly painted frame.
Paint Selection
When choosing paint for your dirt bike frame, consider the following factors:
- Type of Paint: Select a paint specifically designed for metal surfaces, such as automotive or enamel paint. These paints are more durable and resistant to chipping, providing long-lasting results.
- Color: Choose a color that complements the overall aesthetic of your dirt bike. Consider matching the paint color to other components or using contrasting colors for a unique look.
- Finish: Choose between a glossy, matte, or satin finish, depending on your personal preference.
Safety Tips and Precautions
When painting your dirt bike frame, keep these safety tips in mind:
- Ventilation: Work in a well-ventilated area to minimize the risk of inhaling harmful fumes from the paint and primer.
- Protective Gear: Wear appropriate protective gear, such as gloves, goggles, and a mask, to avoid contact with paint and chemicals.
- Fire Safety: Keep flammable materials away from your work area, and avoid smoking or using open flames near the paint and primer.
Conclusion
Painting your dirt bike frame is an excellent way to revitalize its appearance and extend its lifespan.
By following the above dteps, you can achieve professional-quality results and enjoy a refreshed, personalized dirt bike.
Remember to prioritize safety and choose high-quality paint products for the best possible outcome. Happy painting!

